 Suche
Suche

If you want to find out how strong you really are, do a deadlift.
If you want a great full-body exercise, do a deadlift.
If you want to build muscle or burn fat, do one of the many deadlift variations.
If you're a man or woman and want a great exercise that's both functional and fun, do a deadlift.
Why does the deadlift check so many boxes? For starters, it's difficult to use Moment or Cheat, and an overly zealous spotter can't give you support and trick you into thinking you're improving. There's no getting around it: Deadlifts require you to lift a weight, which has a positive effect on your entire body.
When you perform a deadlift correctly, it recruits nearly every muscle fiber in the body, from your feet to your torso and from your arms to your grip. Not to mention, the exercise isn't difficult to learn, says Mark Rippetoe, owner of the Wichita Falls Athletic Club in Texas and author of Starting Strength: Basic barbell training.
However, like any other exercise, if you want to see benefits, you need to master the movement. The deadlift isnotA dangerous exercise, but the key to keeping it safe is making sure you set your body up correctly before pulling the weight.
Table of contents
Is the deadlift safe?
Rippetoe believes deadlift training is easier than teaching the squat or bench press, and he can explain how to do it in just five steps. The “secret,” if you will, is in the setup. About 80% of your strength and safety comes from hand, foot, leg and chest positioning. Once you're in a position of power, the rest of the actual movement itself is as basic as you'll find.
However, before diving into the details, you should know that the deadlift requires some personal modifications. The reason: Unlike squats or bench presses (where you can adjust the rack to your height), the starting point of a deadlift isn't easy to adjust. Most 45-pound plates are about 17.5 inches in diameter, meaning the barbell connecting them sits a little less than 9 inches off the ground. If you use dumbbells, it's even further to the ground to accommodate the weight. (Using a trap bar is an alternative that can resolve this issue.)
This is great for some lifters – especially those with short arms and long torsos – but not for others. Dan John, a strength coach and author of Can you go?will customize the lift for his clients by having them deadlift in a squat rack; This way he can Use the safety barson the side to adjust the height of the starting point. “Some people will eventually lift off the floor, but for others the deadlift is all they ever need,” says John.
Or you can support the barbell on plates (the weight you're pulling sits on other plates on the floor), lifting the bar off the floor to reduce the range of motion.
Whatever the approach, once you find the right setup for your body, you'll be ready to master the deadlift and experience the benefits.
5 steps to perfect deadlift technique
To test your stability and range of motion, perform a set of deadlifts with light weights, says John Gaglione, owner of Gaglione strengthin East Farmingdale, New York. Since proper deadlifts require 17.5-inch plates on the barbell, do not do this first setNoWeight.
Instead, Rippetoe recommends finding 5- or 10-pound plastic sheets that are the same height. If your gym or home doesn't have these, you can opt for a squat rack or position blocks to set up the bar at the right height.
Once the weight is set, Rippetoe teaches the exercise like this:
Step 1: Deadlift Foot Positioning
Takeaway: Position your feet so they are about hip-width apart
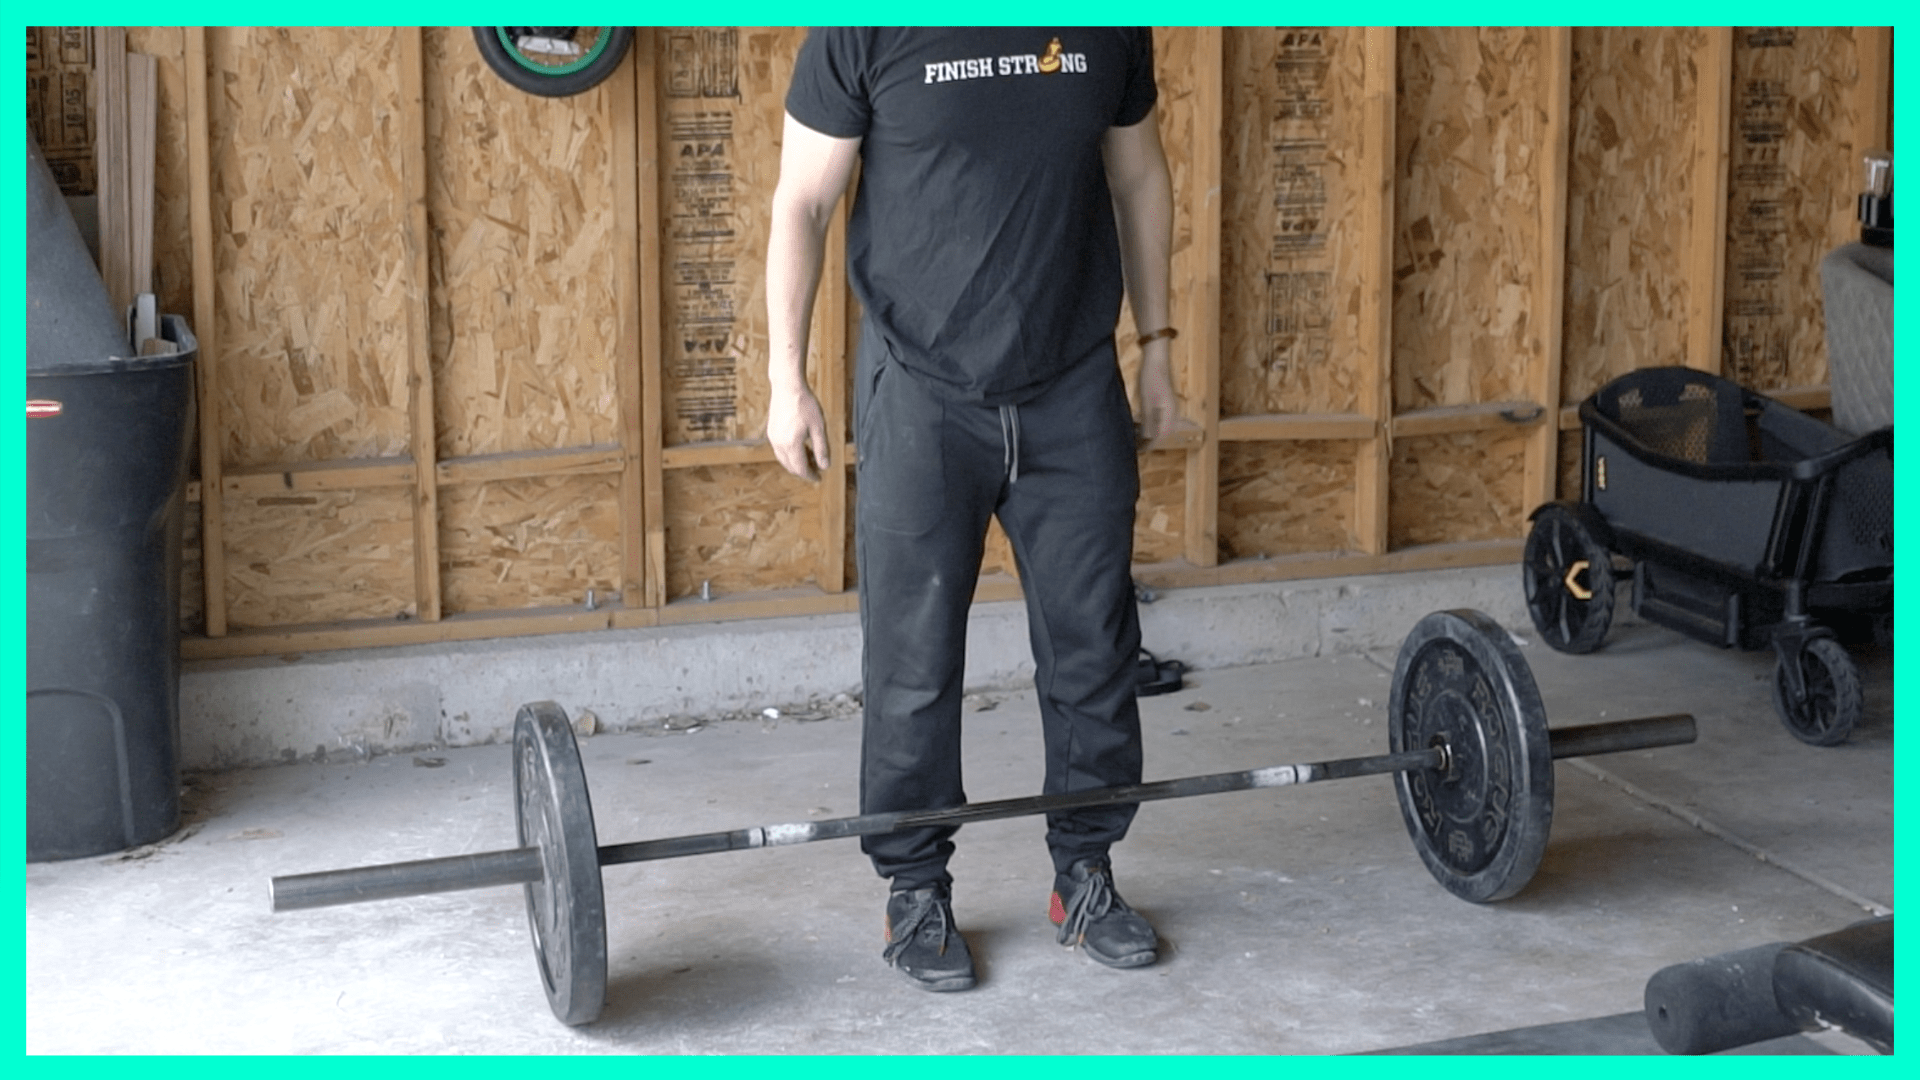
Your foot placement is closer together than you might think — about the same stance you would take for a vertical jump, says Rippetoe. Then point your toes slightly outward, about 10 degrees.
Your shins should be vertical and, most importantly, positioned about 1 inch from the bar for deadlift training. This applies to everyone, says Rippetoe, because it places the barbell directly over the middle of the foot.
“It doesn’t matter what size your foot is,” says Rippetoe. "We looked at women's size 4 up to men's size 17. For all of them, 1 inch puts the barbell over the middle of the foot."
Step 2: Establish your deadlift grip
Takeaway: Position your grip just outside of your shins.
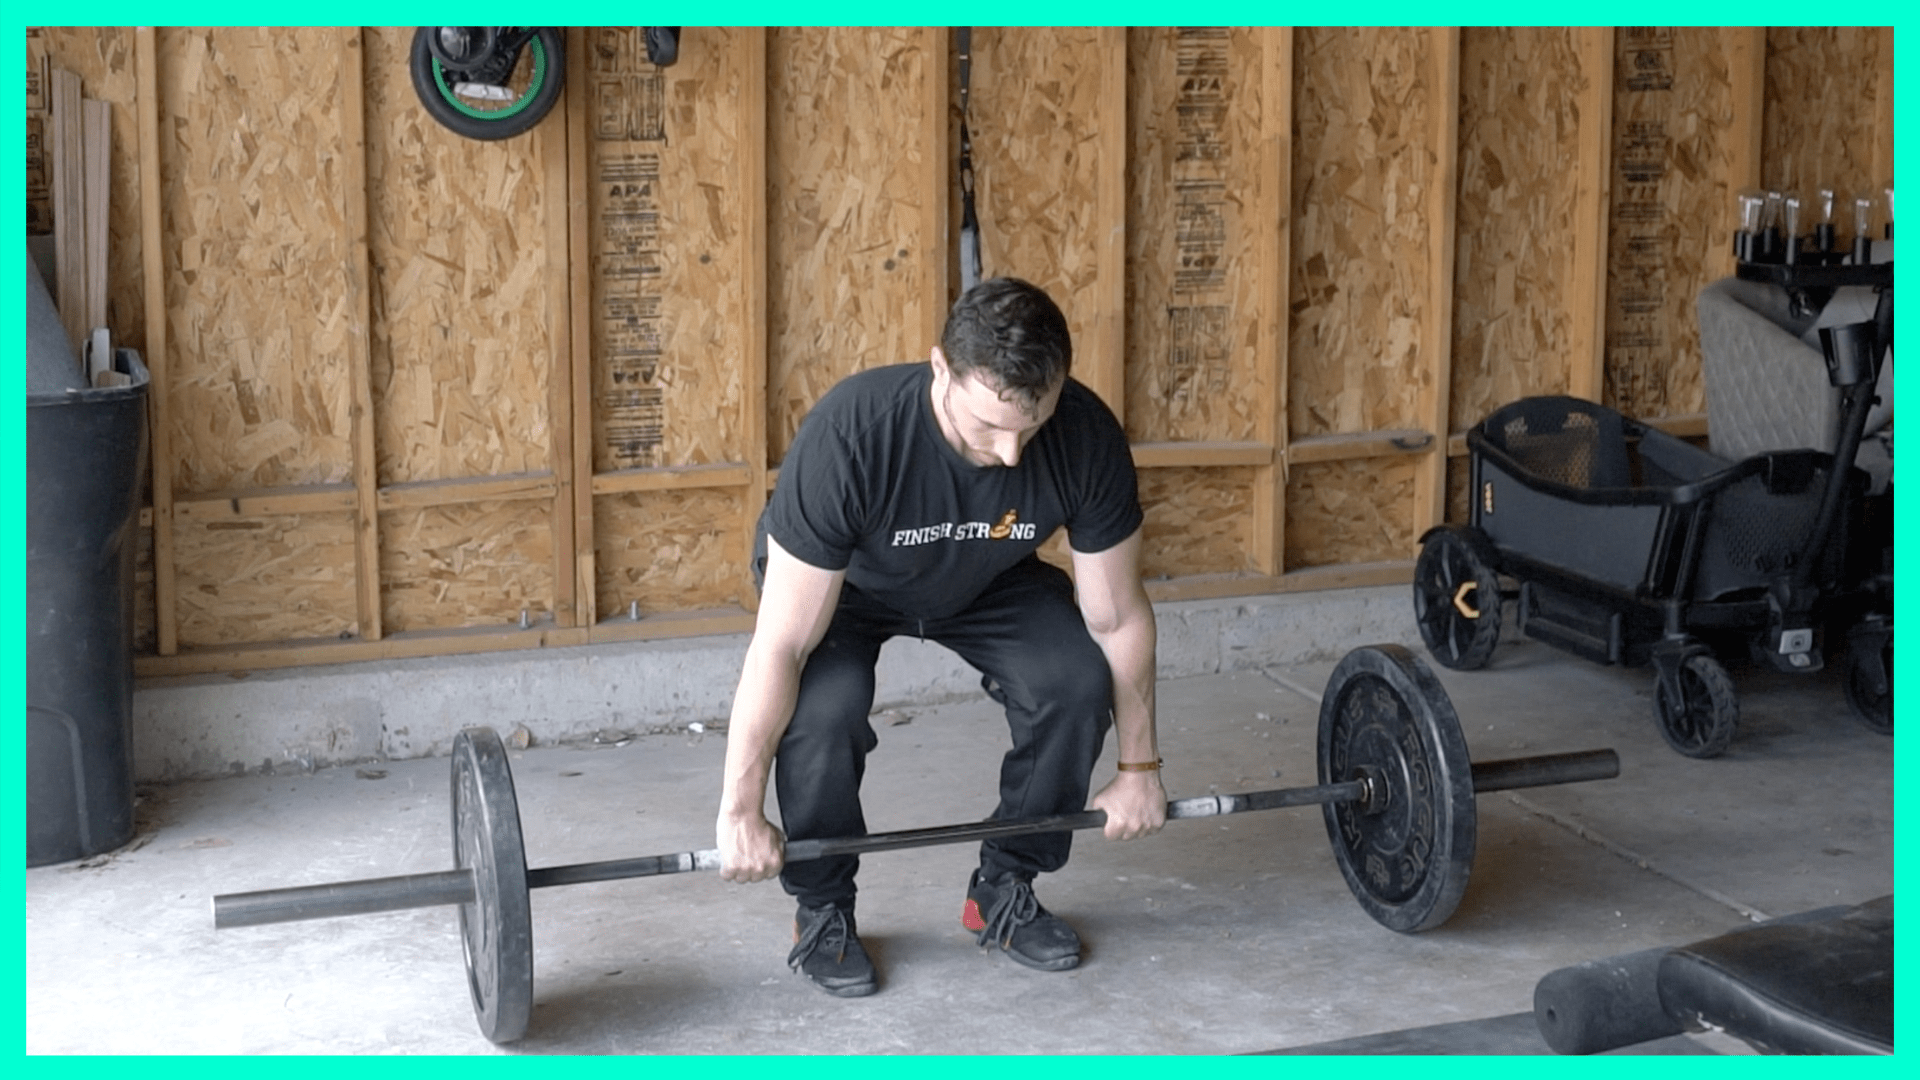
To lock your grip, hinge at your hips (by pushing them back) and lean forward to grab the bar. “You want the tightest grip you can create because this reduces the range of motion of the pull,” says Rippetoe.
And for all but the very heavy sets, you should use a double-handle grip with both palms facing your body, he says. Using an “alternative grip” can put unbalanced stress on your shoulders.
Step 3: Adjust your legs before pulling
Takeaway: Allow your knees to fall forward without moving the bar.
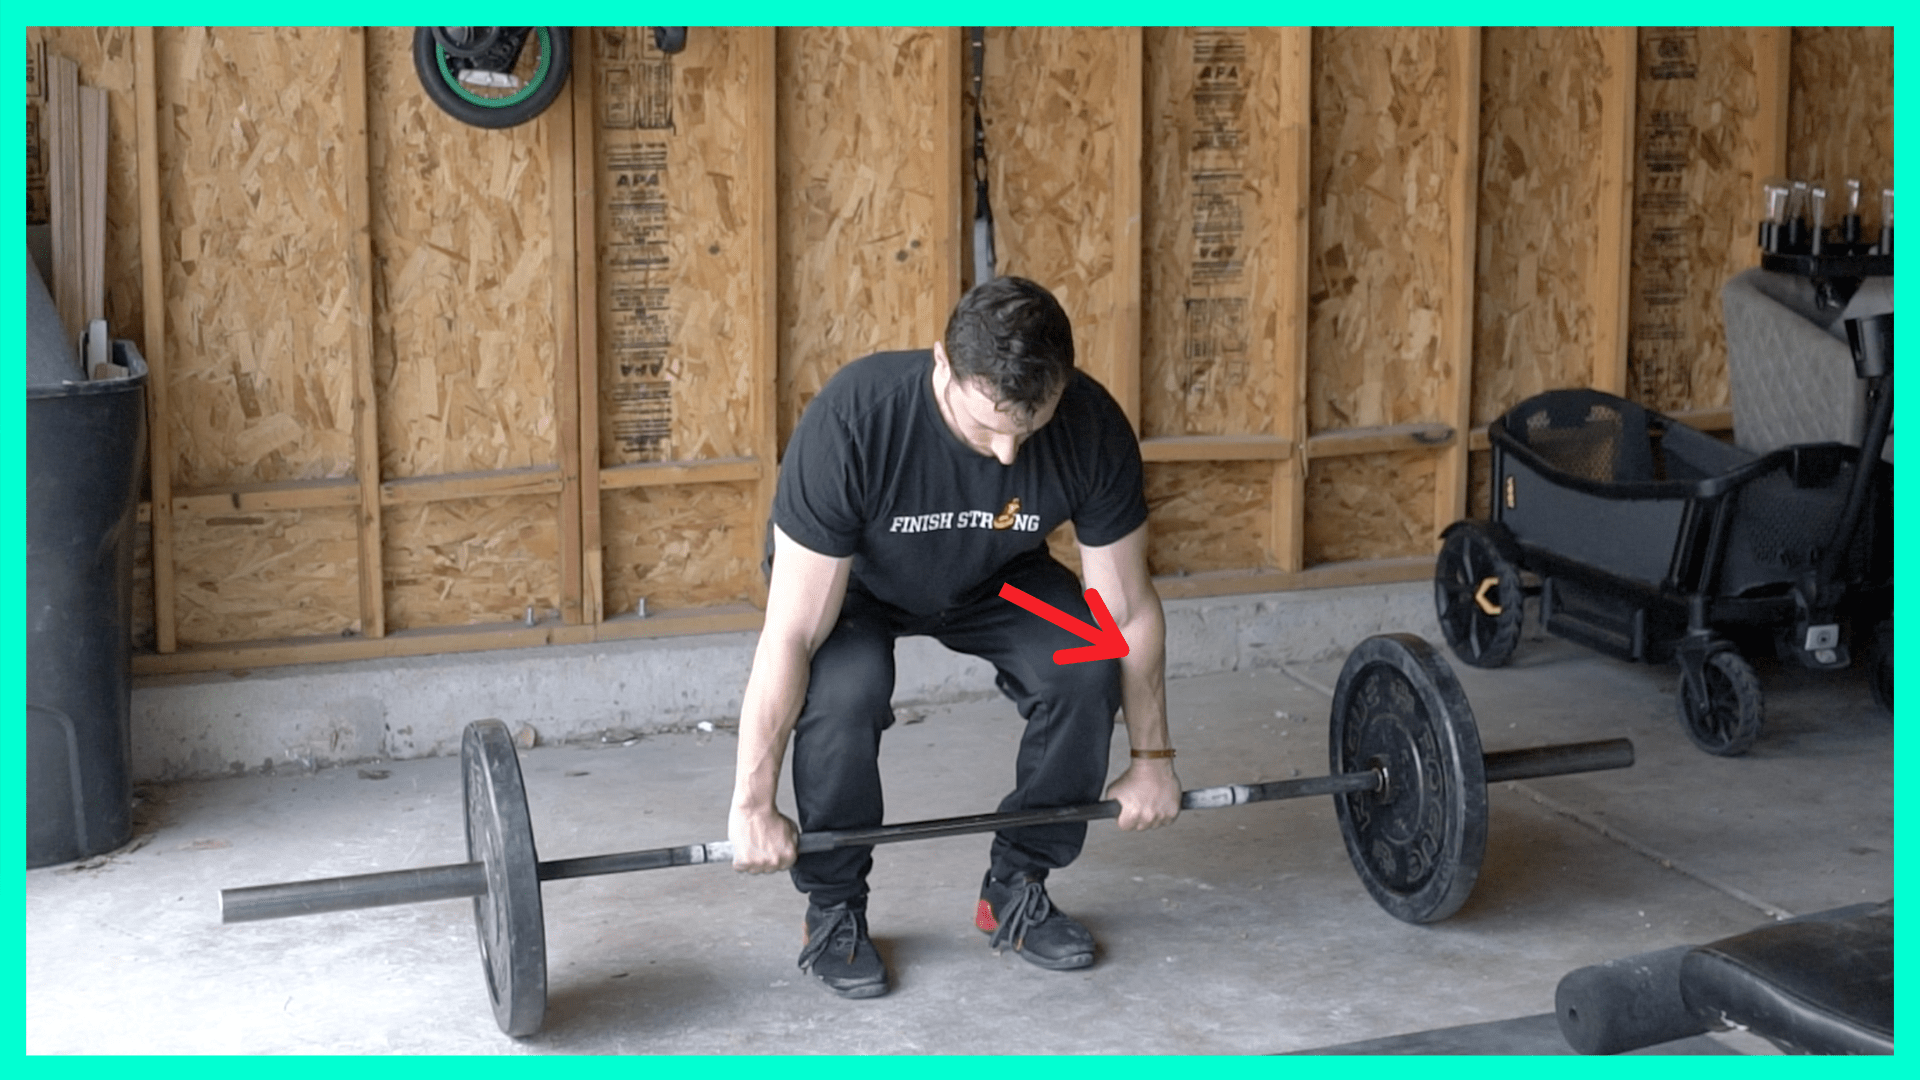
When your shins make contact with the bar, stop. “This is the position your hips and knees are in when you start pulling,” says Rippetoe. "If you continue to lower your hips after this point, your knees will go forward, impeding the bar travel, or you will have your center of gravity behind the bar and want to fall backwards," he says.
At this point, Rippetoe also asks lifters to slightly tuck their knees into their elbows—which should be easy to do if they have a tight grip.
Step 4: Activate the muscles in your back
Takeaway: Make sure your chest stays up.
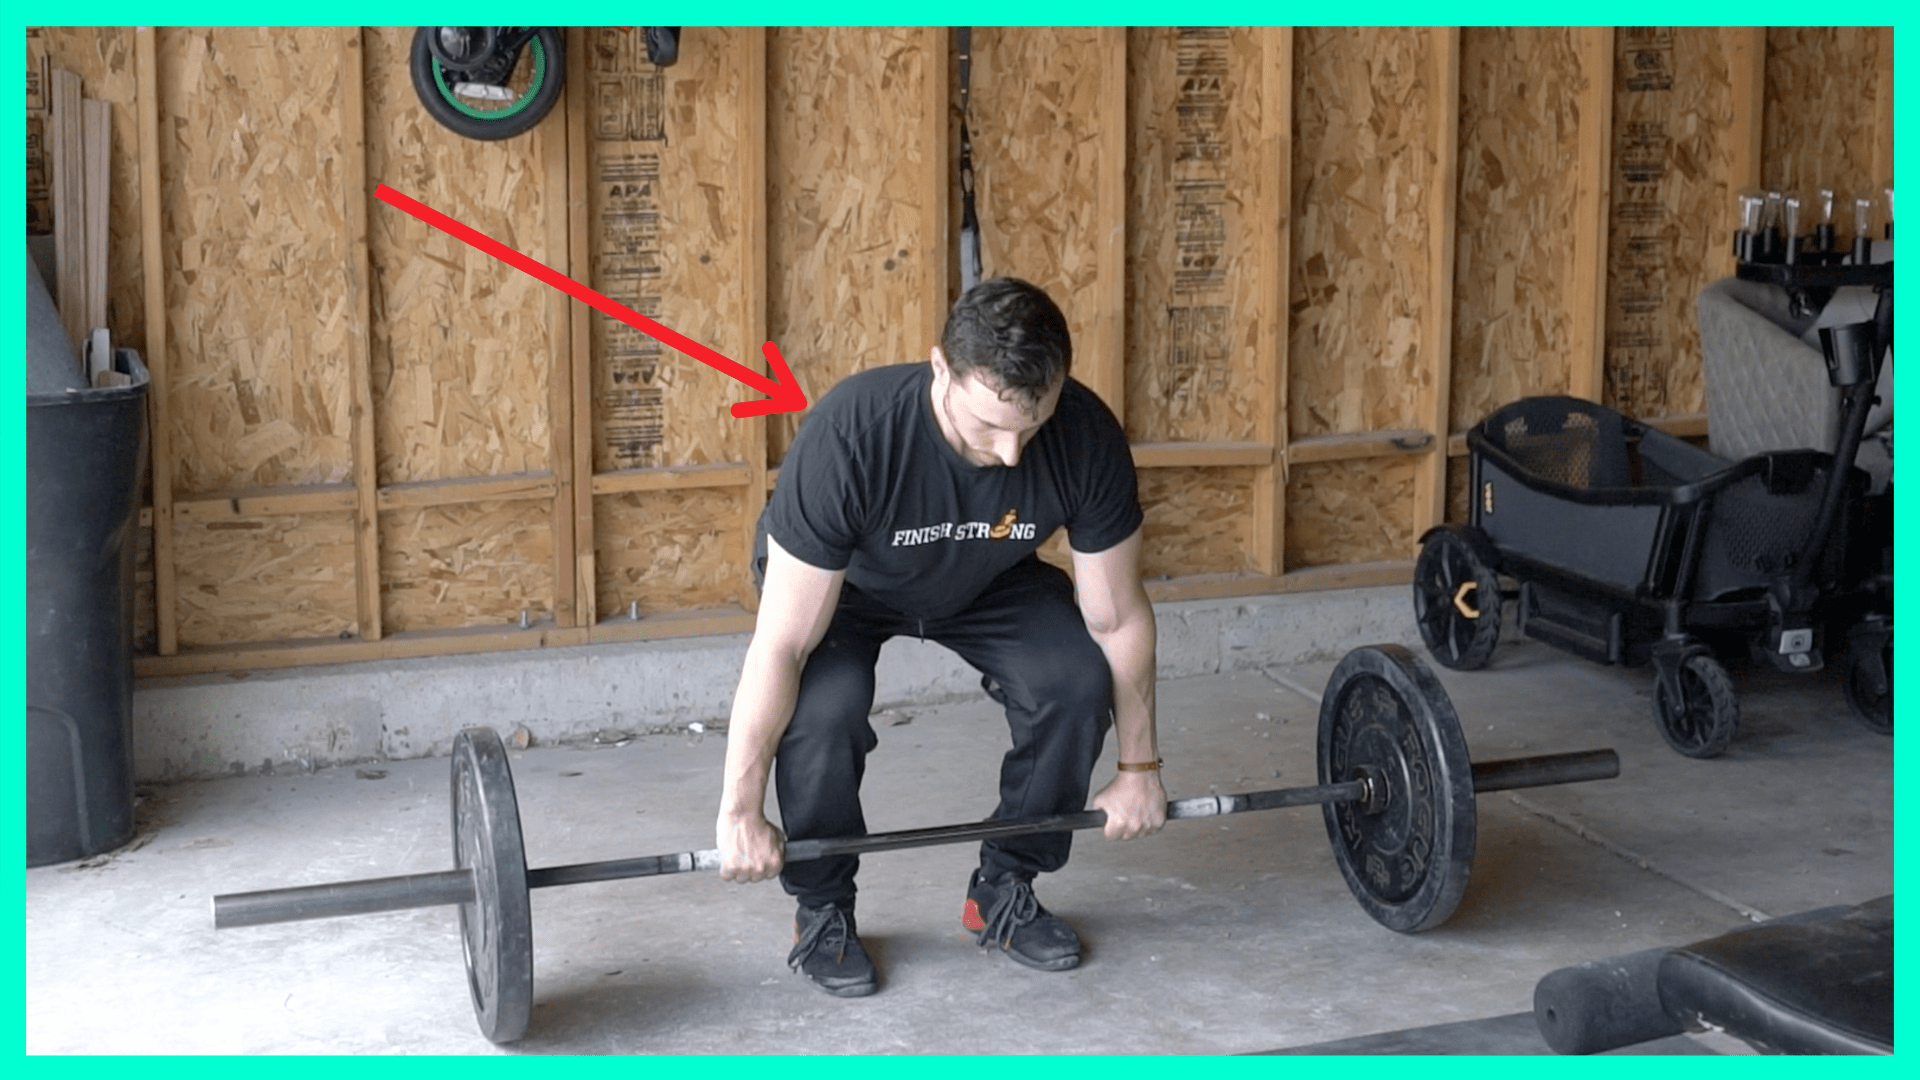
This step is simple but important. You want the lifter to use the muscles in your upper back to hold your chest up as you prepare to pull. Confused? Don't be like that. Activating your back muscles works in a way that helps align proper posture.
Some coaches - like Jim Smith and Eric Cressey - will point this out by telling lifters that they want to read the writing on the front of their shirt.
“[Having the chest up] creates a wave of extension that starts at the shoulders and extends to the pelvis,” says Rippetoe. “That way the entire platoon goes to the bar.”
Step 5: Grab it, breathe and tear it
Takeaway: Activate and pull the weight up.
Before you start pulling the weight up, remember to take the weight off your toes. Demonstrate this by rocking back ever so slightly so the weight falls from your toes to your midfoot.
Next, take a deep breath to engage your core muscles and pull the bar toward your shins with your shoulders tight.
“First the knees are extended, then hip extension follows,” says Rippetoe. “If you do this correctly, the bar will be raised in a straight line directly over the middle of the foot.”
The bar should run in a straight line. This allows you to lift more weight—smoothly and safely—than if you had to pull the bar over your knees and then pull your thighs up.
The bar should remain very close (in contact) with your legs until locked.
Then either drop the bar or reverse the movement to lower your back to the starting position. Your feet should still be adjusted. Therefore, repeat steps 2 to 5 (or 3 to 5 if your grip is still locked) and repeat as many repetitions as your workout requires.
Topics of the next articles
- 6 Übungs-Upgrades für bessere Ergebnisse
- 5-Minuten-Finisher: So beschleunigen Sie den Fortschritt
- Der Leitfaden für Anfänger zum Fettabbau